
Introduction to Computer Hardware Testing
Testing computer hardware is a fundamental aspect of maintaining the functionality and reliability of any computing system. Among the critical components are the motherboard and Central Processing Unit (CPU), which form the backbone of the computer’s performance. Ensuring these essential parts are in optimal condition is necessary for a seamless user experience and overall system stability.
Faulty hardware can lead to a myriad of problems, including unexpected system crashes, data corruption, and slow performance. In many cases, users may not immediately recognize the symptoms of hardware failure, which often manifests as software-related issues. A malfunctioning motherboard can disrupt communication between components, while an unreliable CPU may result in erratic computing behavior. Therefore, proactive testing is imperative to identify and rectify potential failures before they escalate into significant complications.
The importance of rigorous testing cannot be overstated. By assessing the motherboard and CPU, users can pinpoint malfunctions that might otherwise remain hidden, thus safeguarding their system against future operational interruptions. Utilizing appropriate diagnostic tools and methodologies is vital in this testing process. Various techniques, such as visual inspections, stress tests, and software diagnostics, can help highlight any defects or irregular performance in these critical components.
This article will explore several effective strategies and testing tools necessary for ensuring the integrity of the motherboard and CPU. By following the recommended procedures, users can significantly improve their chances of detecting and addressing hardware issues, thereby extending the life of their computing system. Understanding the imperative nature of hardware testing ultimately cultivates a reliable computing environment, enhancing the overall user experience.
Understanding Common Motherboard and CPU Failures
The motherboard and CPU are critical components of any computer system, and their failures can lead to significant issues. Understanding the common types of failures associated with these components is essential for effective troubleshooting. One prevalent issue is physical damage, which may manifest through visible cracks or burnt traces on the motherboard. Such damage typically arises from overheating or faulty power supply and can severely hinder system performance.
Another frequent failure type involves capacitors on the motherboard. Over time, capacitors can leak or bulge, resulting in unstable power delivery to other components. This instability often leads to unpredictable behavior, such as random system crashes, failure to boot, or even freeze-ups during operation. Additionally, corroded or poorly seated connection points can cause communication failures between the motherboard and CPU, further contributing to overall system instability.
In the case of CPUs, issues often occur due to overheating from inadequate cooling solutions or improper thermal paste application. Symptoms of CPU failure include unexpected crashes, blue screens, or failure to recognize the CPU at boot. It’s worth noting that power surges can also affect the CPU, potentially leading to permanent damage. Moreover, firmware incompatibilities can complicate the normal functioning of both the motherboard and the CPU, resulting in various system errors.
Identifying these symptoms and understanding the potential causes is crucial during the testing phase. By recognizing the patterns indicative of motherboard and CPU failures, users can take preventive measures or perform targeted diagnostics. Addressing these issues promptly ensures the longevity and reliability of the computer system, ultimately enhancing overall performance and user experience.
Preparing for the Testing Process
Before initiating the testing process for a computer motherboard and CPU, it is imperative to make adequate preparations. This phase ensures that the testing is both effective and safe, minimizing the risk of any further damage to the components involved. Firstly, gather the necessary tools to facilitate the diagnosis. Commonly required instruments include a multimeter, which is essential for measuring voltage levels and continuity, along with a POST (Power-On Self-Test) card to diagnose error codes directly from the motherboard. Additionally, an electrical tester can help determine the presence of power in various components.
Next, prioritize safety by ensuring that the computer system is completely powered off and unplugged from its electrical source. This step is crucial to prevent electrical shock and damage to the motherboard or CPU. Disconnecting all peripheral devices is also advisable to avoid any accidental shorts while performing the testing procedures. Once unplugged, it is wise to wait for a short period to ensure that all residual power has dissipated from the components. This is particularly important as capacitors within the motherboard can hold a charge even when unplugged.
Moreover, to prevent static electricity buildup, which can potentially harm sensitive electronic components, it is recommended to utilize an anti-static wrist strap. This strap grounds the user and protects against electrostatic discharge during the handling of the motherboard and CPU. If such straps are unavailable, touching a grounded metallic object, like a metal part of the case, can serve as a temporary measure. All these preparatory steps are imperative for a smooth evaluation process to effectively identify potential failures within the motherboard and CPU, ensuring that the subsequent testing yields accurate and reliable results.
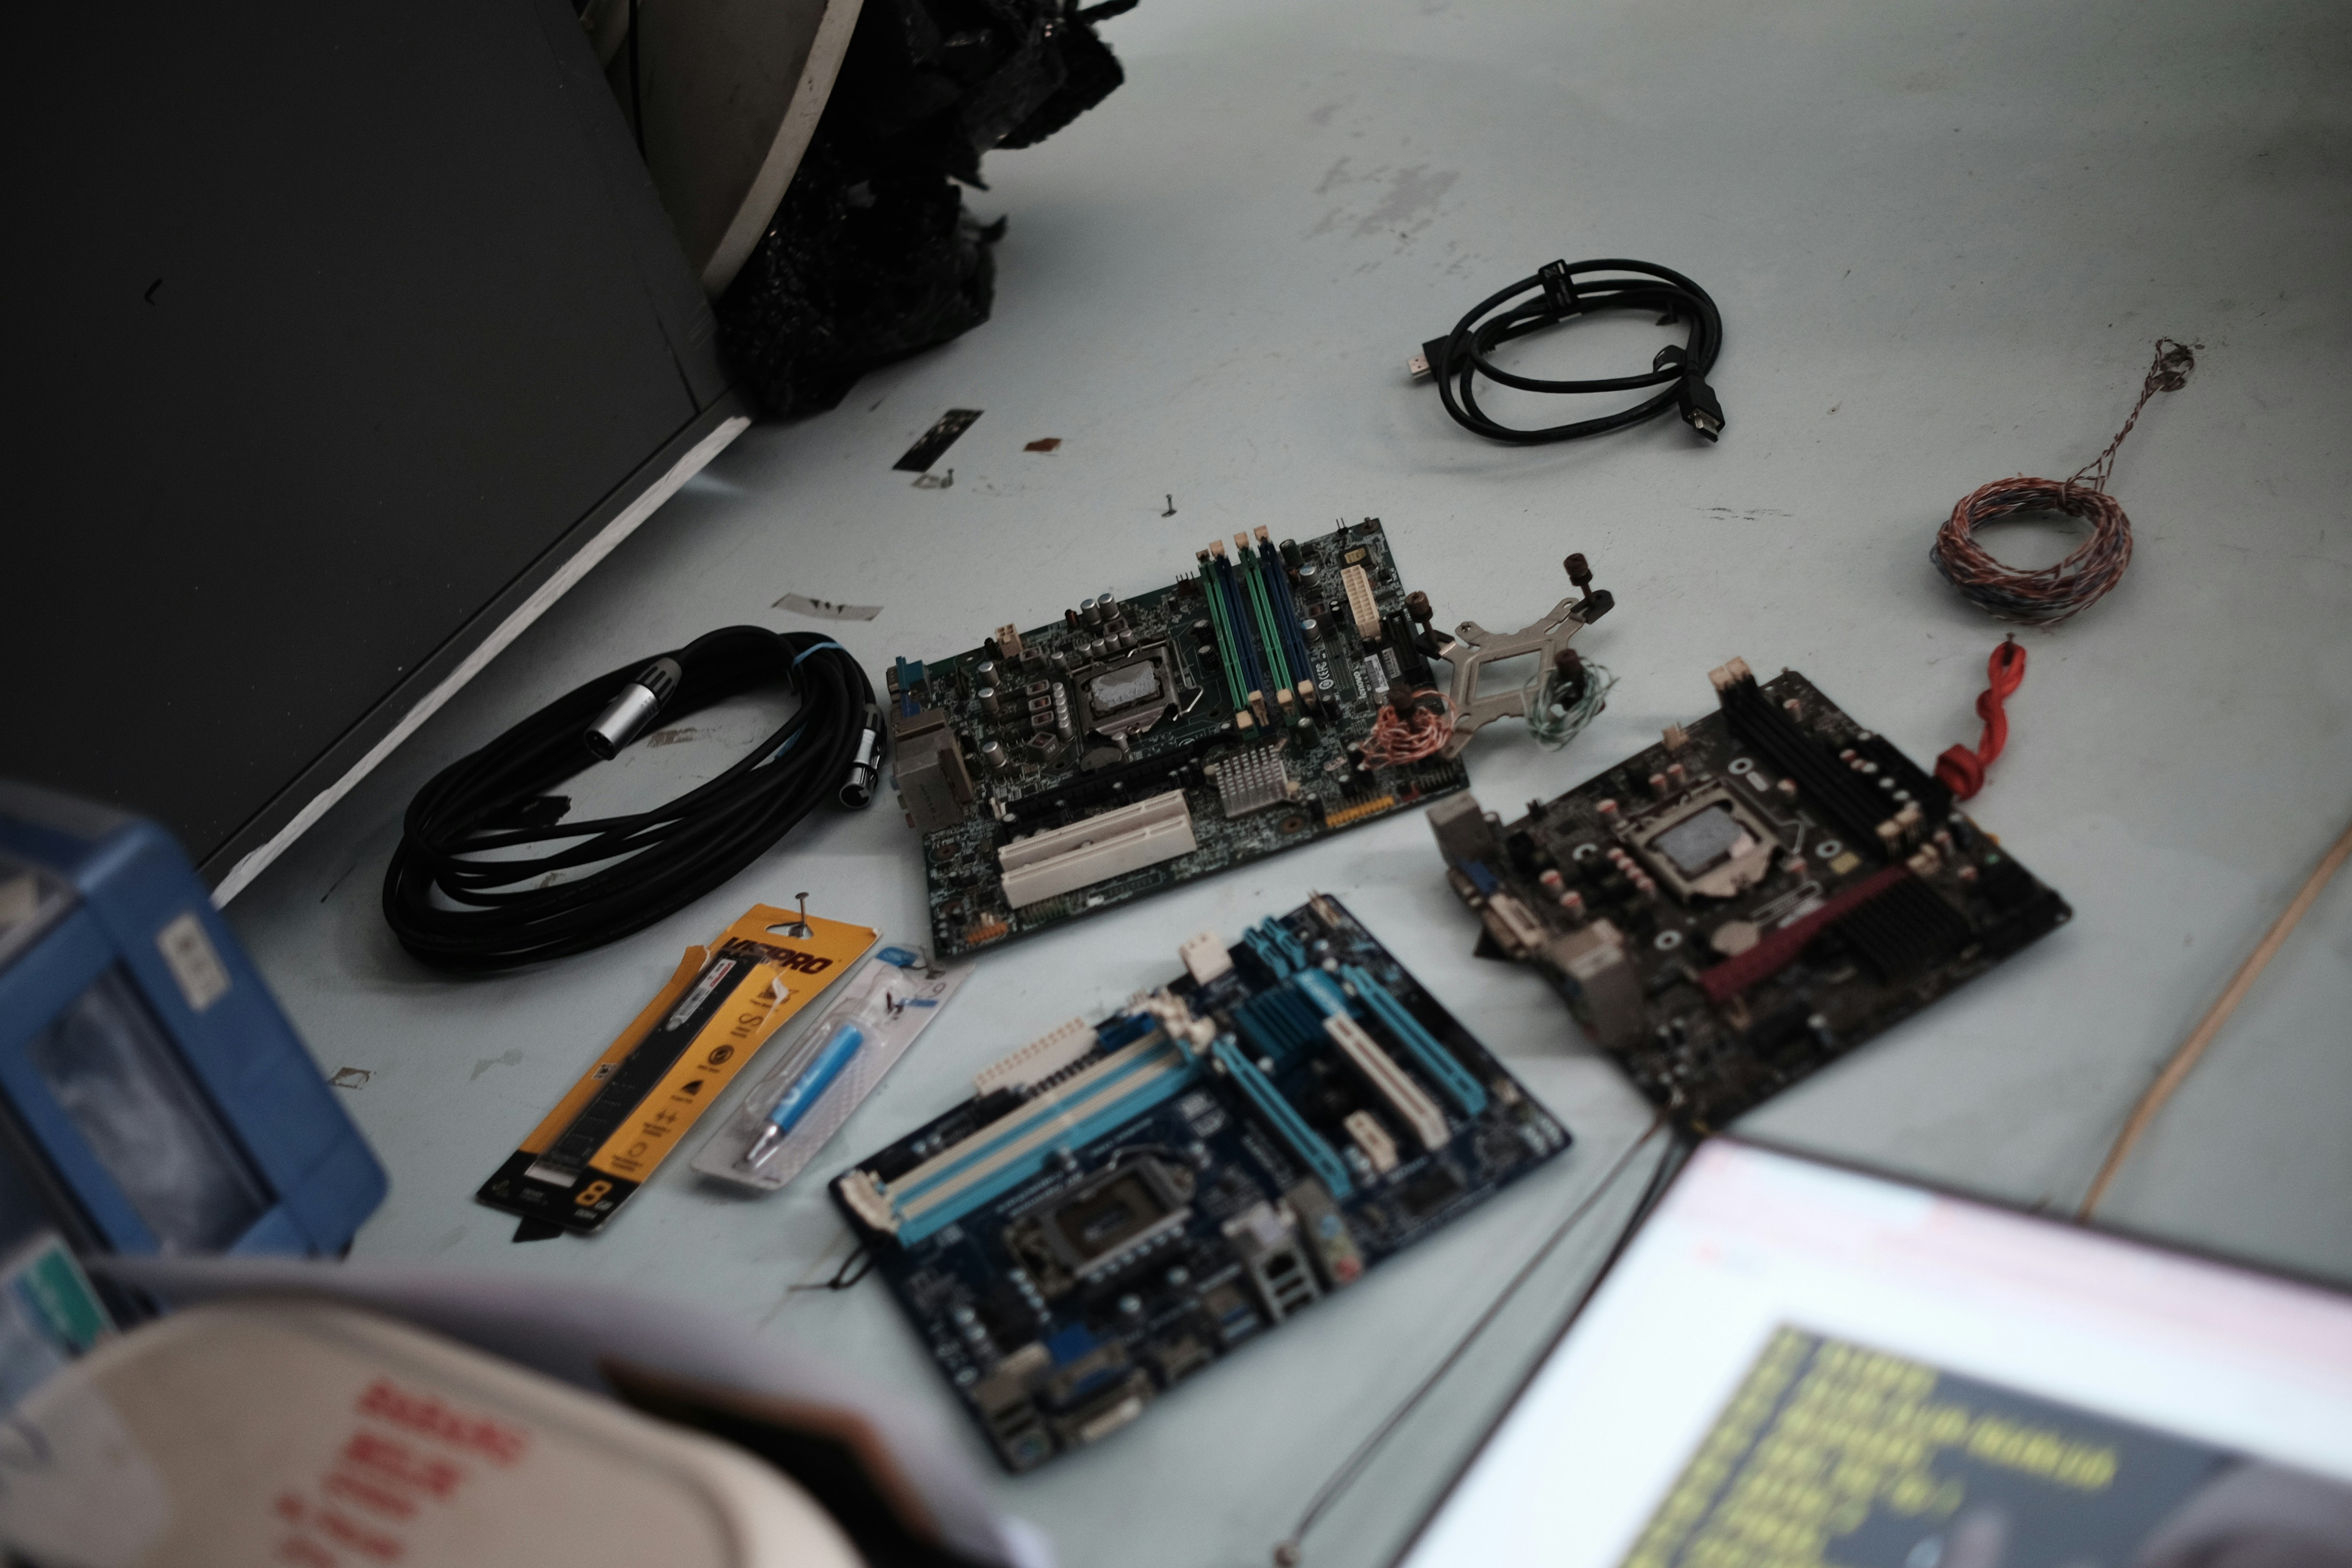
Visual Inspection of the Motherboard
Conducting a visual inspection of the motherboard is an essential first step in troubleshooting potential hardware failures. This method is not only straightforward but also effective in identifying visible signs of damage that may indicate underlying issues with the motherboard or CPU. Begin by ensuring that the computer is completely powered off and unplugged from any electrical sources before opening the case.
The first area to inspect is the capacitors. Look for swollen or leaking capacitors, which are often indicative of failing motherboard components. Capacitors that appear bulged or have brown residue surrounding them should be replaced, as they can disrupt electrical flow and lead to more severe malfunctions. Additionally, examine for burnt components, such as resistors or diodes, which might show discoloration or physical damage. A burnt smell is another critical indicator of underlying issues.
Inspect the motherboard for any physical cracks or breaks in the PCB (printed circuit board). Such cracks can disrupt the circuit pathways, leading to performance issues or a complete failure. Pay special attention to solder joints, as cracked or cold solder can also create connectivity problems. It is necessary to examine the connection points for the CPU and RAM to ensure they are secure and free from dust or corrosion.
Moreover, take a close look at the expansion slots and connectors. Ensure that there is no debris obstructing these areas and that the slots appear intact. Conducting a thorough visual inspection can reveal problems that warrant further diagnostic testing. By identifying potential issues early in the process, you can proceed with targeted troubleshooting measures to either repair or replace malfunctioning hardware components, ultimately enhancing the computer’s performance and reliability.
Using Diagnostic Tools for Testing
Testing a computer’s motherboard and CPU requires an array of diagnostic tools to effectively identify potential hardware failures. Both software and hardware diagnostics play a crucial role in troubleshooting issues that affect system performance and stability. Understanding how to utilize these tools can lead to precise identification of the fault.
Software diagnostics typically involve using stress tests and benchmarking programs. Stress testing applications, such as Prime95 or AIDA64, allow you to push the CPU to its limits in terms of processing power and thermal output. During this process, monitoring software can track the temperature, voltage, and clock speeds. Should the CPU overheat or exhibit instability during these tests, it may suggest impending failure or inadequate cooling solutions. On the other hand, benchmarking tools, such as Cinebench or Geekbench, help assess the performance of the CPU and motherboard collectively. By comparing results against established standards, users can gauge the operational efficiency of their hardware and identify deviations that may indicate problems.
While software diagnostics are beneficial, hardware tools such as Power-On Self-Test (POST) testers serve as an indispensable element of motherboard testing. These compact devices connect directly to the motherboard and function by checking various critical components for errors during the boot-up process. The POST tester utilizes a series of LED indicators or a small display to relay codes corresponding to specific hardware statuses. When the system fails to pass the self-tests, the displayed code serves as a guide for which component may be malfunctioning.
By integrating both software and hardware diagnostic tools, system builders and users can obtain a comprehensive view of the motherboard and CPU’s health. Deploying a systematic approach not only identifies existing failures but also helps prevent future issues, ensuring the longevity and reliability of the computer system.
Testing the CPU: Key Methods and Tools
Testing a CPU involves several critical methods and tools to ensure its functionality and performance. One of the most effective techniques is running stress tests. Stress testing software, such as Prime95 or AIDA64, is designed to push the CPU to its limits, simulating high loads that the processor may encounter during operation. This helps to identify potential failures or instabilities under pressure. During stress tests, monitoring CPU temperatures is also crucial. Tools like Core Temp or HWMonitor allow users to track temperatures in real-time, ensuring that the CPU does not overheat, which could lead to thermal throttling or permanent damage.
Another method of assessing CPU functionality is through performance benchmarking. Utilizing tools such as Cinebench or Geekbench provides a quantitative analysis of the CPU’s performance across various workloads. These benchmarks generate scores that can be compared against standard values for the specific CPU model, enabling users to determine whether their processor is performing as expected. Underperformance in these tests may signal the need for further investigation or potential hardware issues.
In addition to software tools, it is vital to examine the physical connections and components associated with the CPU. Ensuring that the CPU is properly seated in its socket and that the cooling solution is correctly applied can prevent many issues related to functionality. Cleaning the CPU and the motherboard from dust and debris can also enhance performance and thermal efficiency, reducing the likelihood of overheating during extended use. By incorporating these testing methods and utilizing the appropriate tools, users can effectively evaluate their CPU’s health and preemptively address any potential failures.
Interpreting Diagnostic Results
When testing a computer motherboard and CPU for failures, interpreting the diagnostic results is crucial in assessing the overall health of these components. Various testing methods, including software diagnostics, visual inspections, and physical tests, can yield different types of results that need careful evaluation. A clear understanding of what constitutes normal versus abnormal readings will help in diagnosing potential issues and determining appropriate next steps.
Firstly, software tools often provide a range of metrics related to the motherboard and CPU performance, such as temperatures, voltages, and clock speeds. Normal readings typically fall within the manufacturer’s specified operating ranges. For example, a CPU temperature might be deemed healthy if it is below 70°C under load. Conversely, consistently high temperatures or voltage fluctuations outside the specified range are red flags indicating potential failure. These abnormal readings warrant further investigation, often involving physical inspections of the CPU and motherboard.
Visual inspections can also reveal important indicators of performance issues. Look for any physical damage, such as burnt traces on the motherboard, bulging capacitors, or discolored components. These signs suggest electrical problems that may necessitate repairs or replacement. In addition, listening for unusual sounds, such as clicking or whirring from the CPU fan, can hint at problematic operation.
After interpreting the initial diagnostic results, it is essential to consider the context of the findings. For instance, transient temperature spikes may not indicate a malfunction if they are isolated incidents during high-demand tasks. However, if low performance persists alongside abnormal results, more decisive actions should be taken, such as replacing potentially faulty components or further testing with alternative methods. Through thorough analysis of these diagnostic results, users can develop a more accurate understanding of their motherboard and CPU health and make informed decisions regarding maintenance or replacement.
Troubleshooting Common Issues
Troubleshooting issues that arise during computer motherboard and CPU testing is a crucial step in ensuring system stability and performance. Common problems include system instability, random crashes, failure to boot, and hardware incompatibilities. It is essential to adopt a systematic approach to identify and rectify these issues effectively.
One of the first methods to consider is reseating components. This involves powering down the computer and carefully removing and reinserting the CPU, RAM, or graphics card. Poor contact between these components and the motherboard can lead to various problems. Ensure that all connectors are properly aligned and securely fastened, as loose connections may be the root cause of the issue.
If reseating components does not resolve the problem, updating the BIOS may be necessary. The BIOS (Basic Input/Output System) is crucial for initializing hardware and operating system processes. Manufacturers often release updates that can improve compatibility and overall functioning of the motherboard. Consult the manufacturer’s website for instructions on how to safely perform this update.
Should issues persist, it may be indicative of faulty components. You can run a series of diagnostic tests to identify the exact faulty part. One practical approach is to utilize diagnostic software that can monitor system temperatures, voltages, and error codes. If a specific component is determined to be defective, replacement may be necessary.
In some cases, examining power supply integrity is also recommended. An inadequate or failing power supply can lead to various system issues. By ensuring that the power supply outputs the correct voltage and amperage, you can rule out this potential cause of failure.
By carefully following these troubleshooting methods, most issues pertaining to the motherboard and CPU can be resolved, ensuring a stable and reliable computing experience.
Conclusion and Best Practices for Maintaining Hardware
In this discussion, we have explored the essential steps involved in testing a computer motherboard and CPU for failures. Identifying issues early can prevent more severe hardware problems and save costs in the long run. Regular diagnostics and component testing should form part of a preventative maintenance strategy, ensuring optimal performance and longevity of your computing system.
Moving forward, there are several best practices that users should adhere to in order to maintain the health of their motherboard and CPU. First and foremost, proper airflow within the computer case is crucial. Ensuring that fans are functioning effectively and that dust is cleared regularly helps mitigate overheating, which is a common cause of hardware failure.
Additionally, users should monitor their system’s voltages and temperatures using diagnostic software, as fluctuations can signal underlying problems that may lead to motherboard and CPU issues. Regularly updating the BIOS and drivers can also play an essential role in hardware performance and stability, preventing compatibility issues that might arise due to outdated software.
Moreover, using a surge protector or an Uninterruptible Power Supply (UPS) can safeguard against power surges and outages, which are significant factors in hardware malfunctions. It is also advisable to handle components with care; static electricity can damage sensitive parts, including motherboards and CPUs, so employing anti-static wrist straps when handling these components is prudent.
Lastly, keeping regular backups of important data remains crucial, regardless of hardware conditions. In the event of a motherboard or CPU failure, having a recent backup can reduce stress and ensure that critical information is not lost. By following these best practices, users can not only extend the lifespan of their computer hardware but also enhance its reliability and performance.